What are Blending Tools? Guide to use Blending Tools Explained
From AI integration to cross-platform fluency—discover the must-have technical and soft skills for today’s most in-demand dev roles.

by Abhishek
Blending tools are commonly used by artists to get smooth transitions, soften harsh lines, and create realistic textures in graphite or charcoal drawings. They range from blending stumps and tortillons for detailed shading, to items like paper towels, chamois, Q-tip, even your hand. Each tool offers unique effect, helping artists refine and control their artwork.
In this Guide you will learn
List of Blending Tools
Here are some popular options.
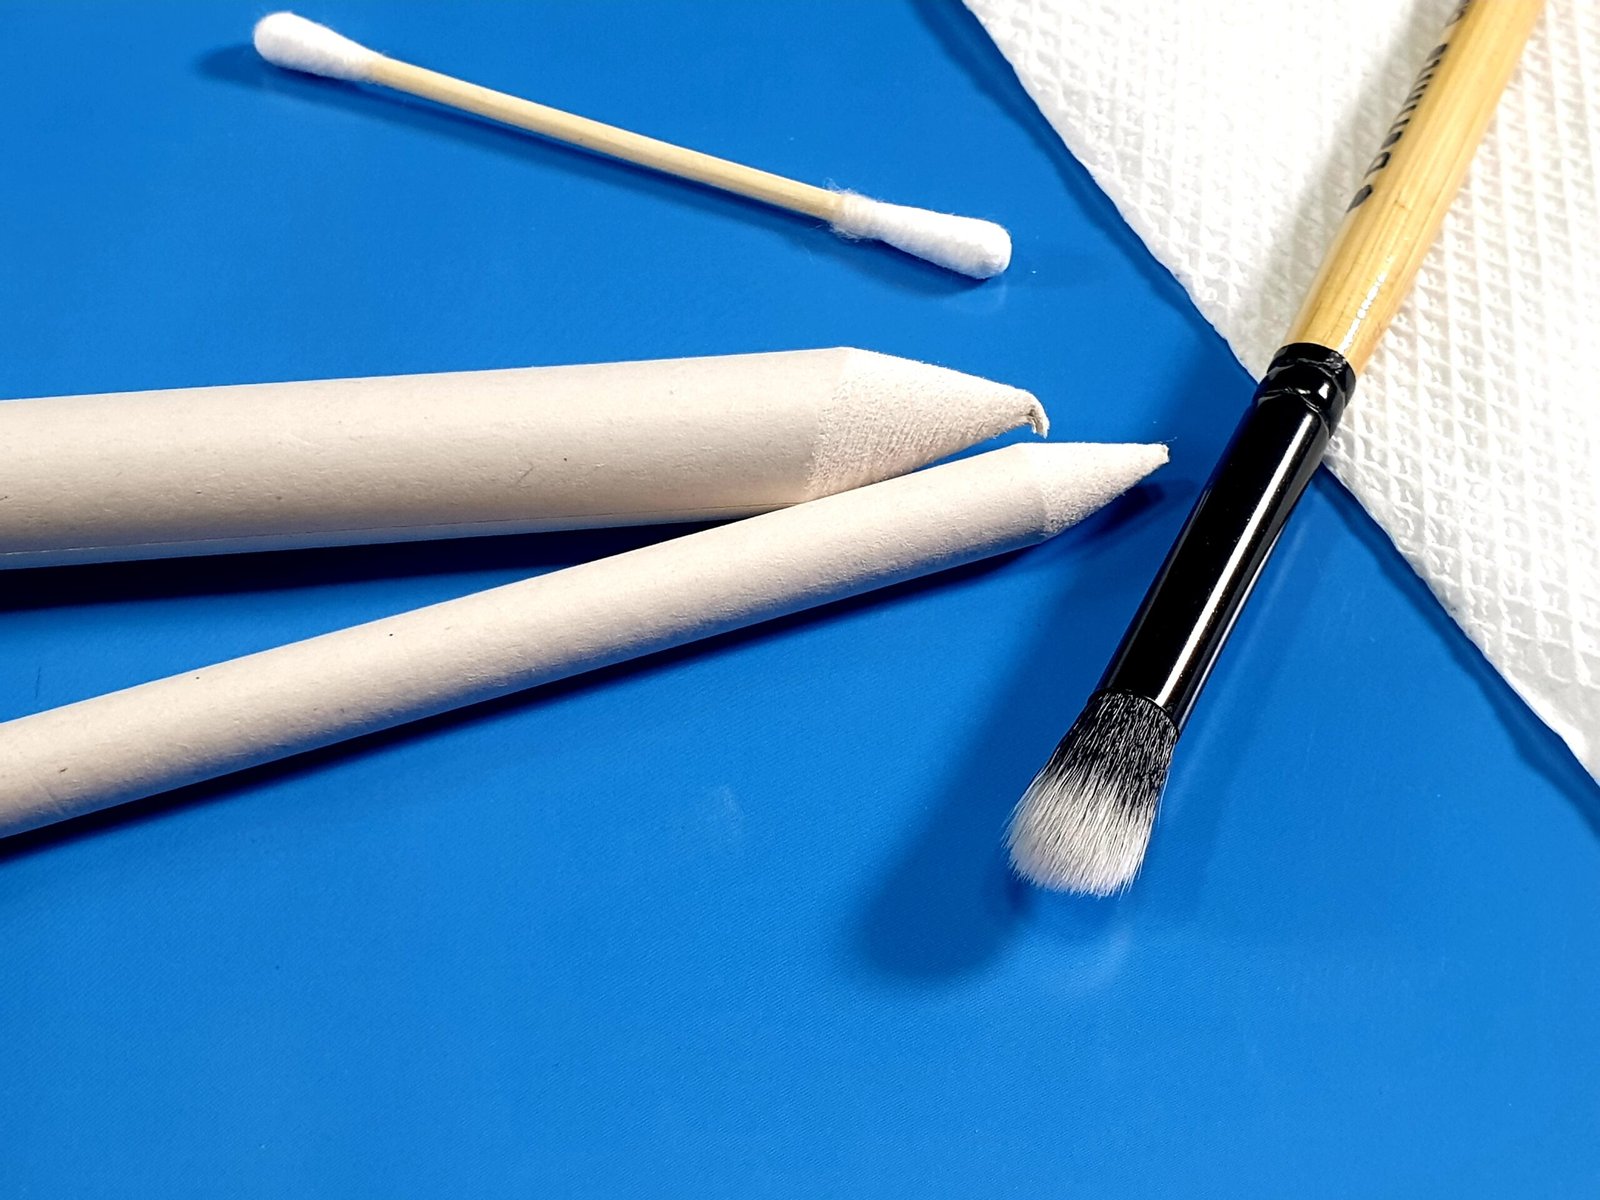
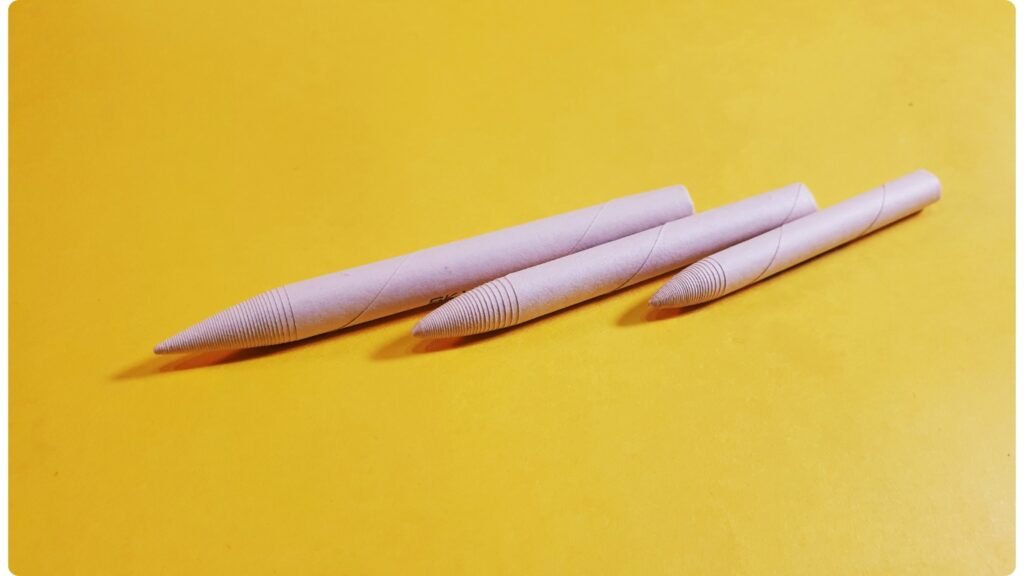
- Paper Stumps: Cylindrical tools made of tightly rolled paper with double point, useful for smoothing larger areas.
- Tortillons: Similar to paper stump, but smaller and with a single point, good for detailed blending.
- Blending Brush: Brush designed to move graphite or charcoal gently across paper.
- Paper Towel: Inexpensive and accessible, they are great for blending broad regions and softening tones.
- Your Hand & Fingers: The simplest too, especially for large areas.
- Q-tip: Handy and easily accessible, perfect for smaller areas and controlled blending.
- Chamois: A soft leathery cloth material ideal for large, smooth blends, especially for charcoal or pastel drawings
How to Use Blending Tools?
To use Blending tools, apply them gently over shaded areas to smooth transitions and blend values.
Your Hand & Fingers:
- Your hand is the most accessible blending tool! Many beginners naturally reach for their fingers to smudge and blend graphite.
How to use:
- By using palm or the side of your hand, you can blend large areas smoothly with circular motions. With fingertips you can blend smaller areas as small as your fingertips.
Tips:
- Avoid pressing too hard.
- Always keep your hands clean to prevent smudging.
Disadvantage:
- Oils from the fingers can leave unwanted marks.
Paper Towel:
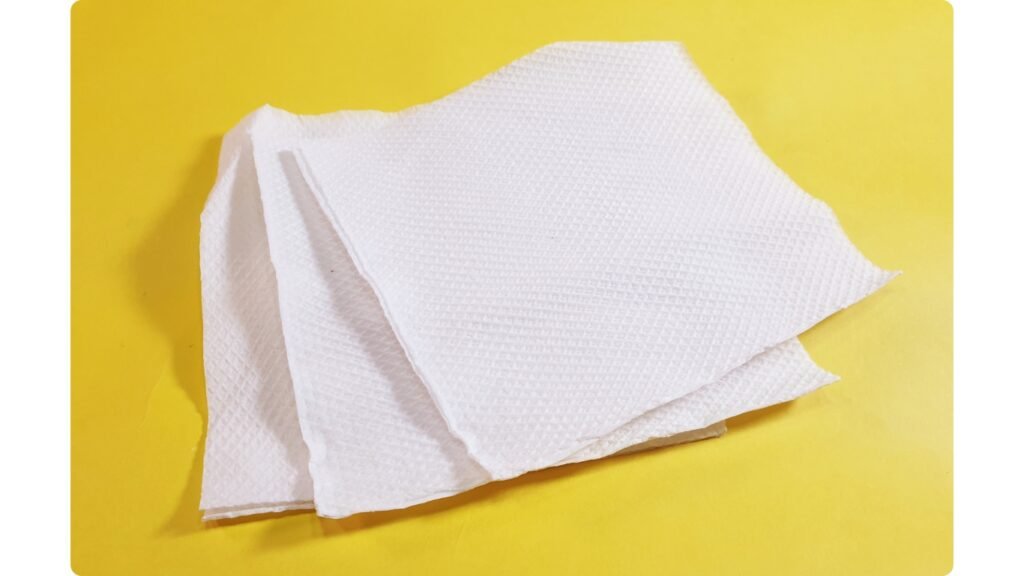
Paper towels are great for blending large areas and softening tones. They are inexpensive and easily accessible.
How to use:
- Wrap the tissue around your finger, and start blending in a circular motion like you do it with your fingertips from dark area into the light area.
- Another way to do is by laying down charcoal or graphite on a scrap paper and rub the towel on it before using it on your drawing paper for softer effect.
Tips:
- When the spot gets dirty, move your finger to another spot of the towel.
Paper Stump:
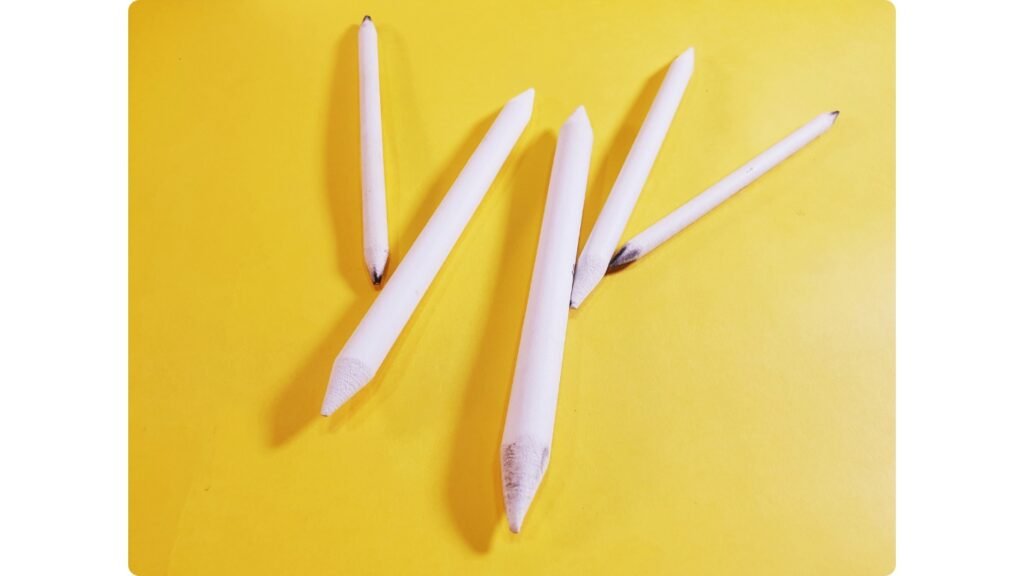
Paper stumps are useful for creating smooth transition in a small area or adding subtle shadows.
How to use:
- Hold the stump at an angle and blend from dark values into the lighter values.
Tips:
- When the stump gets dirty don’t throw them, you can either use sandpaper to sharpen the stump or use the dirty stump to blend darker values.
- Don’t use one stump for all your blending needs, have one for darker, medium and lighter values each, to avoid clean multiple times.
Tortillons
Similar to paper stump, tortillons are small, tightly-wounded paper tool with a pointed tip.
How to use:
- Hold the tortillon at an angle, rotate the tortillon while blending to pick up and distribute graphite more evenly.
Tips:
- Dirty Tortillons are great for shading darker areas, so don’t discard them after use.
Chamois
A chamois cloth is excellent for covering large areas with smooth, even tones.
How to use:
- You can wrap it around your finger or fold it in a way you can comfortably hold it for blending.
- You can experiment with any motion you like (e.g. circular motion)
Tips:
- Start slowly as chamois can remove layers of graphite or charcoal very effectively, or else you have to add values over and over again.
- Use a clean section of the chamois for each blend to avoid smudging other areas of your drawing.
- Wash it after it gets dirty.
Q-tip
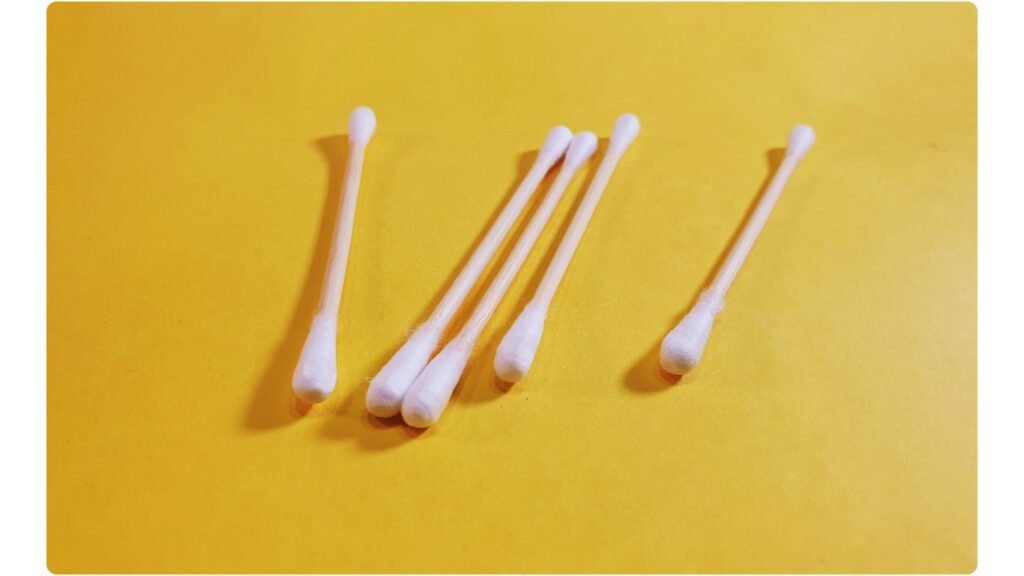
Q-tip are versatile and precise blending tools for small areas.
How to use:
- Use light pressure with a Q-tip, you can experiment with any motion you like.
- Use fresh Q-tip while working with lighter areas.
Tip:
- Pressing hard can push the material around, which could lead to a muddy look in your drawing.
Blending Brush
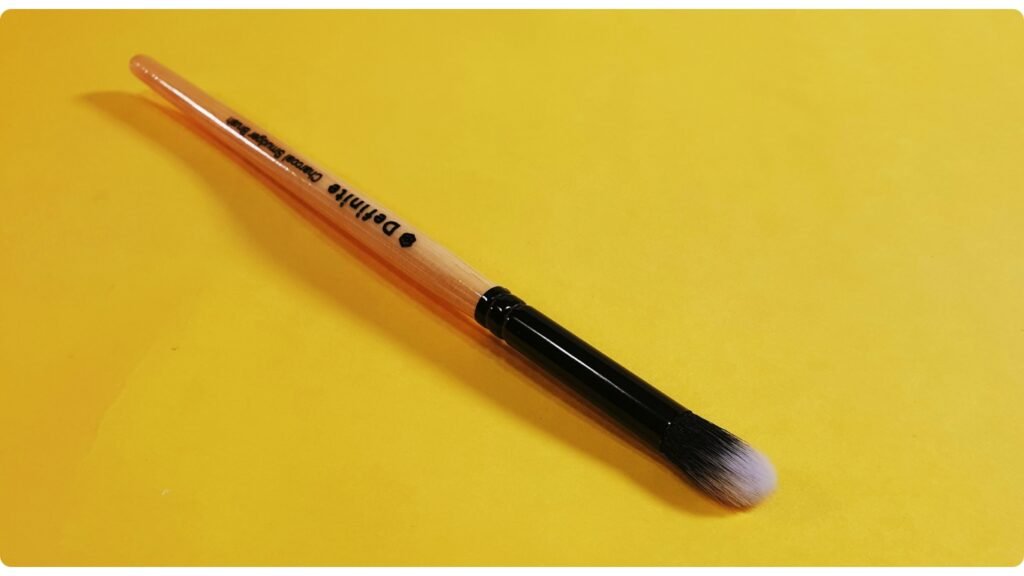
Brushes designed specifically for blending can create subtle textures, especially when working with powdered graphite or charcoal.
How to use:
- Dip dry brush in powdered graphite or charcoal then start blending on to the paper in circular motion (you can use any motion you like).
Tips:
- Best for light blending and not ideal for darker and more detailed areas.
When should you use Blending Tools?
Use blending tools when you want to smooth out shading and create seamless transition between light and dark.
The need for blending tools largely depends on two factors:
- The texture of the subject – Smooth subject like skin often requires blending for realistic shading.
- The texture of the paper – On smoother papers, you may create smooth realistic shading as it doesn’t have any visible textures.
Rough paper might naturally provide a texture you need, without a blending tool.
When to Skip Blending Tools?
Skip blending tools when drawing on textured paper (like charcoal paper), the paper itself can provide enough visual interest to skip blending. If you’re drawing a tree, bushes or subject requiring defined, sharp details like hair, fur or foliage, the rough surface helps achieve the texture you need without extra tool.
Every drawing does not need a blending tool. Blending tools are often overused, leading to messy, smudged artwork. The key is understanding when and where to use them, don’t reach out for a blending tool just because it’s a habit.
- Don’t use blending tools when you need a textured look in your drawing.
- You can avoid blending tools by controlling graphite pencil and mastering pressure and technique.
Key Takeaways for using Blending Tools?
- Texture Matters: The texture of your paper and the subject dictates whether you need to use blending tools.
- Blending Alternative: Controlling and adjusting pencil pressure are great alternatives to overusing blending tools.
- Variety of Tools: Try a range of blending tools to find what works best for you.
- Mind Your Hand: Avoid using fingers directly, as oil from fingertips can damage your artwork.
- Practice: Blend intentionally. Start with clean tools and practice on scrap paper before applying to your final drawing.