Charcoal pencils are versatile tools perfect for drawing and shading. Their encased design allows for detailed lines, while different grades offer a range of effects from soft to bold.
With practice, you will master their unique qualities and enjoy a rich, matte finish they provide. Dive in and unleash your creativity-your artistic journey starts here!
Here’s everything you’ll learn in this guide:
Contents
- 1 Types of Charcoal Used for Drawing
- 2 Understanding Charcoal Pencil Grades
- 3 Choosing Right Paper for Charcoal Pencil
- 4 Tools and Accessories For Charcoal Pencil Drawing
- 5 Basics of Using Charcoal Pencils
- 6 Tips for working with Charcoal Pencils
- 7 Blending Comparison
- 8 How To Preserve Your Charcoal Drawing
- 9 Conclusion
Types of Charcoal Used for Drawing
Before diving into charcoal pencils specifically, its’s helpful to understand the various types of charcoal commonly used in drawing:
- Vine Charcoal: Made from burnt grapevine or willow wood, vine charcoal Is soft and produces light, airy lines. It’s perfect for sketching and can be easily erased or blended.

- Compressed charcoal: This type of charcoal is made from powdered charcoal mixed with a binder to create a denser, harder material. Compressed charcoal is darker and more difficult to erase than vine charcoal but produce deeper black.
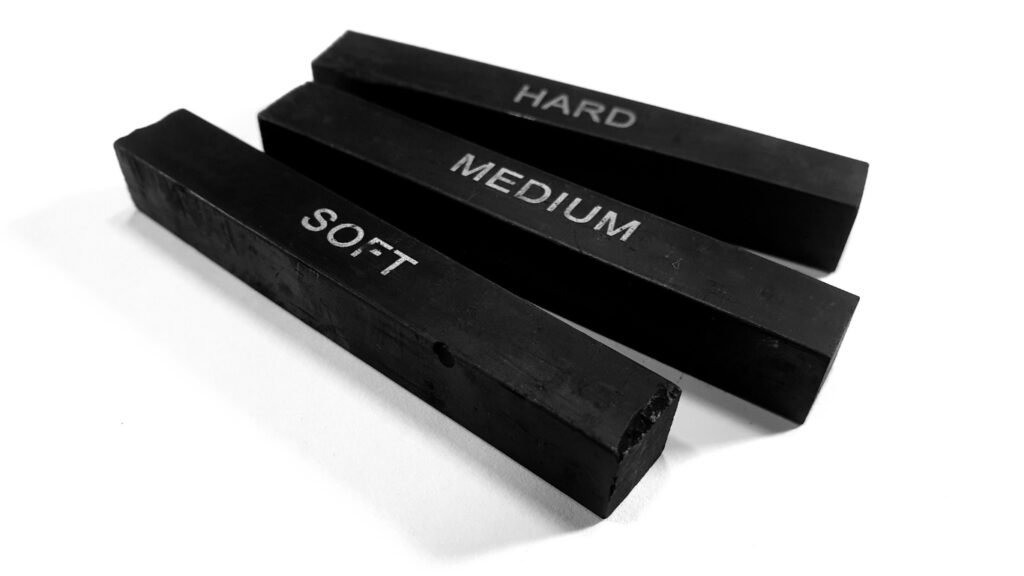
(Charcoal pencils fall under compressed charcoal category.)
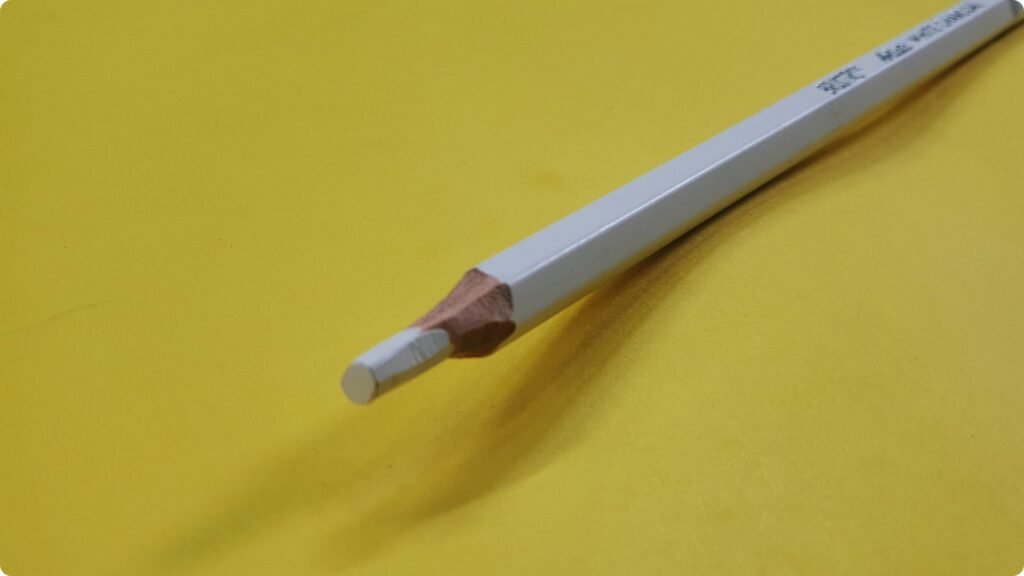
- Coloured Charcoal pencil: This type of pencils come in different colours. Most commonly used is the White Charcoal pencil for enhancing the highlights.
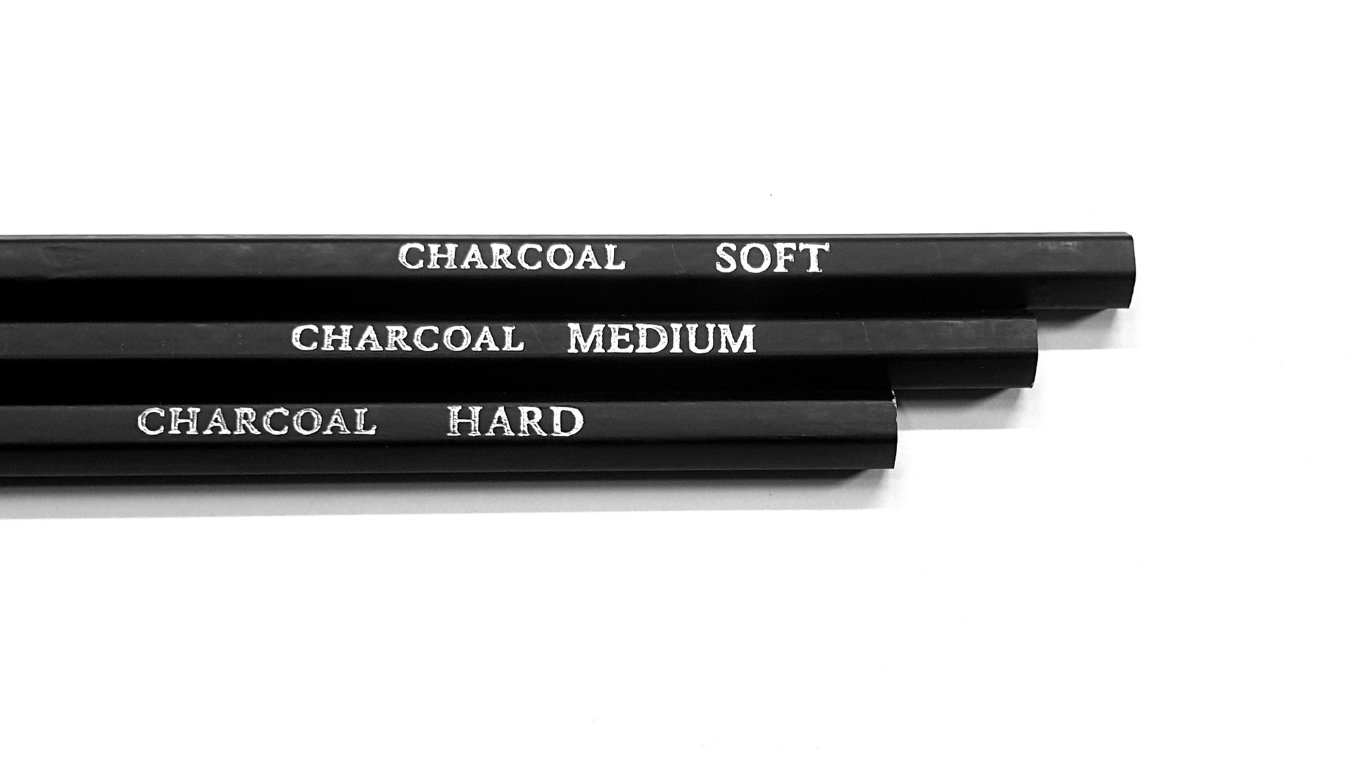
Understanding Charcoal Pencil Grades
Charcoal pencils come in range of hardness, often categorized as soft, medium, or hard. The hardness affects how the pencil feels on paper and the darkness of lines:
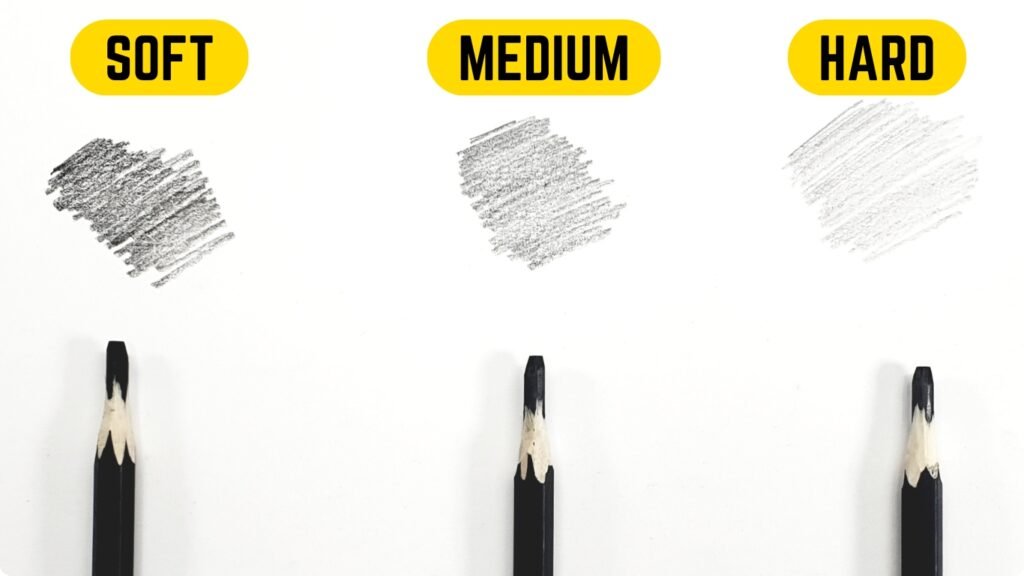
- Hard Charcoal Pencil: Produce lighter marks and are more durable. Ideal for detailed work and crisp lines, though they can feel scratchy on the paper.
- Medium Charcoal Pencil: Medium pencils are versatile and provide a balance between softness and hardness. They can be used for both fine details and broader strokes, making them an excellent all-purpose choice.
- Soft Charcoal Pencil: These are perfect for creating rich, dark line and are easily smudged or blended. They’re well-suited for shading and creating contrast but can wear down quickly.
Choosing Right Paper for Charcoal Pencil
Paper choice significantly affects the final outcome when using charcoal pencils. Here are some considerations for selecting paper that complements charcoal pencils:
- Tooth: A paper with a rough or medium tooth (texture) is ideal, as it holds onto charcoal well and allows for smooth blending. Paper that is smooth can make it hard for charcoal to stick, leading an uneven mark.
- (If you are beginner go with Mid-Tone paper.)
- Colour: White or light-toned paper is common, but charcoal pencil also looks striking on toned paper, which provides a mid-range background that enhances highlights and shadows.
Tools and Accessories For Charcoal Pencil Drawing
To maximize the effectiveness of charcoal pencils, you may want to invest in a few additional tools:
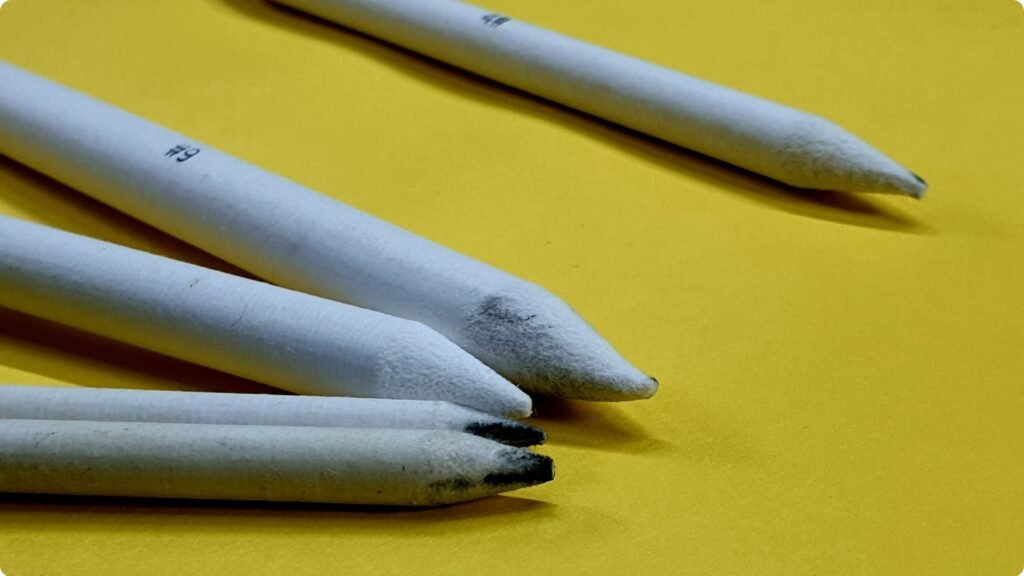
- Paper stump/Blending stump: These tools are perfect for smudging and blending charcoal, especially for creating soft transitions and shading.
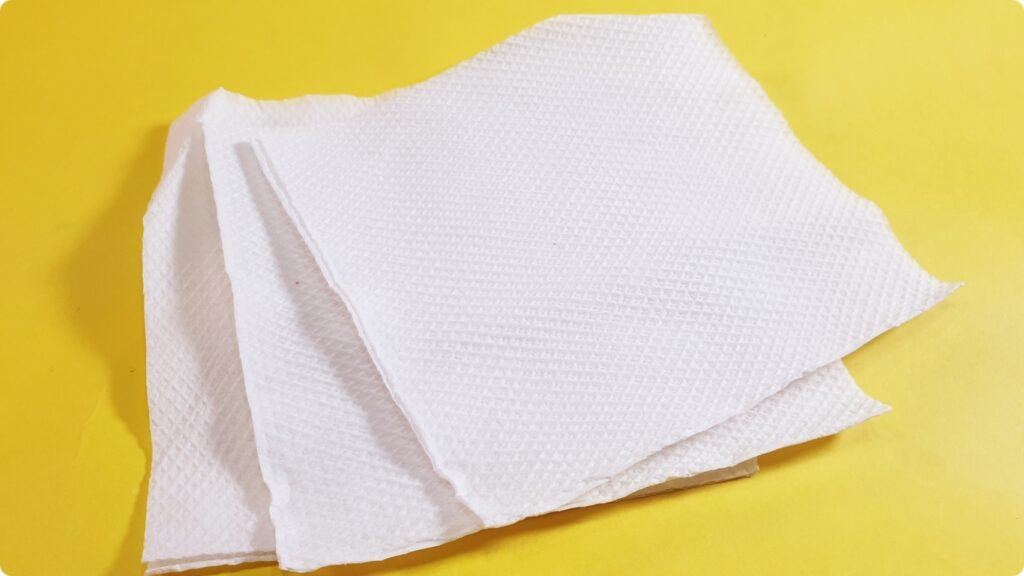
- Paper Towel: Paper tools is also used for blending, especially for larger areas.
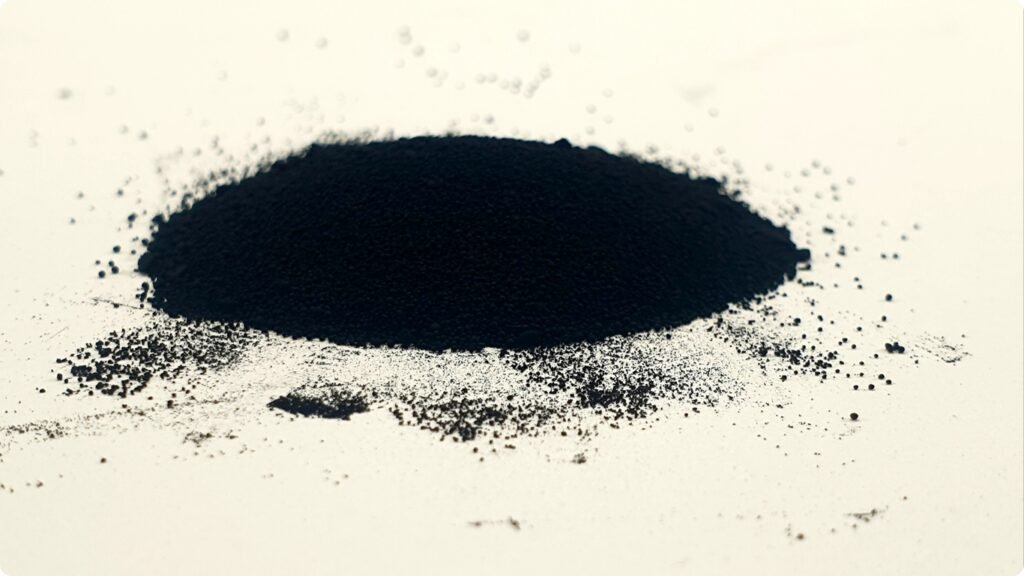
- Powdered Charcoal: Powdered charcoal is used for layering and it is blended with a paper towel.
- Kneaded Erasers: Essential for lifting charcoal and creating highlights without damaging the paper.

- White Charcoal Pencil: This pencil helps to pop the highlight even further.
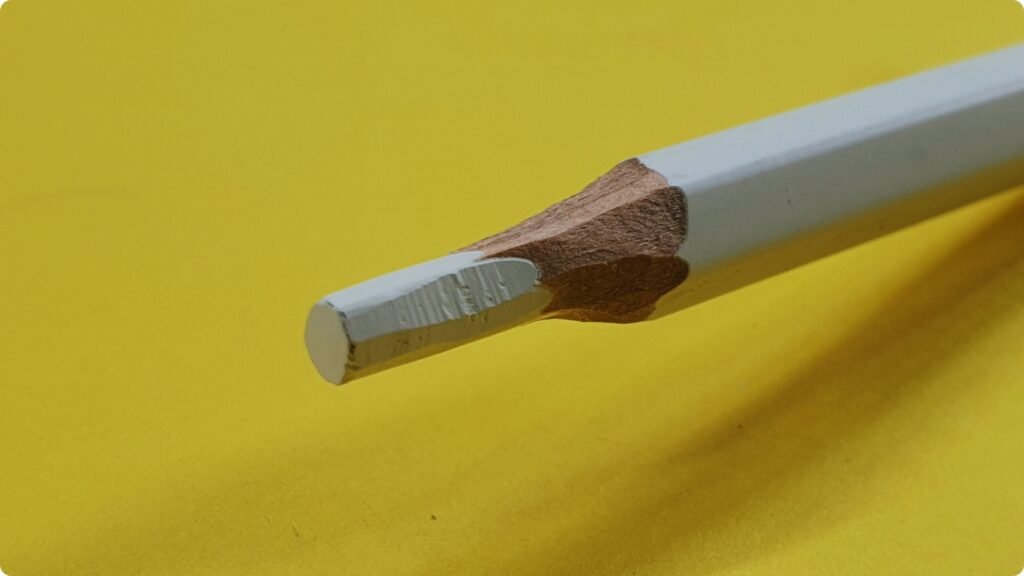
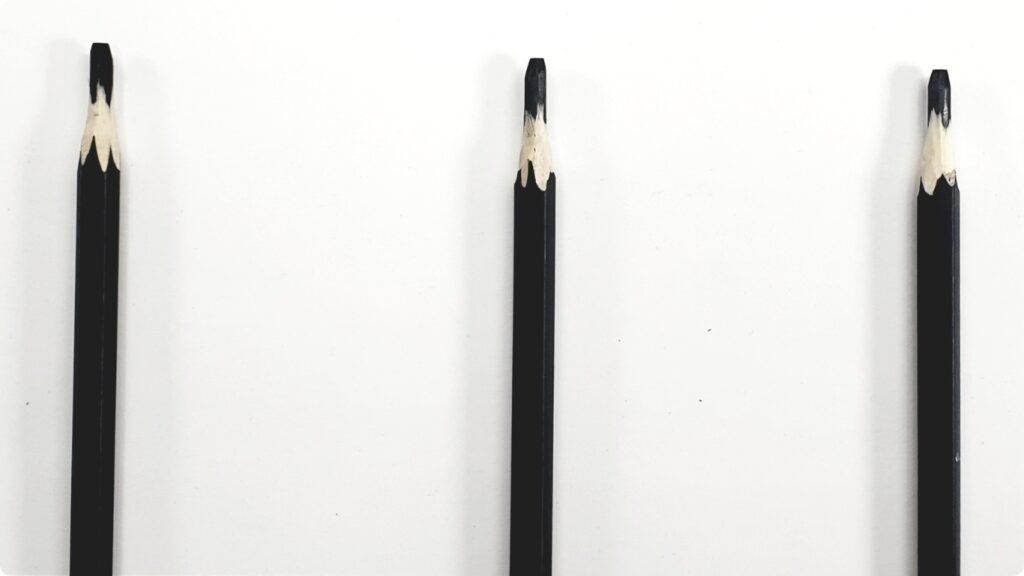
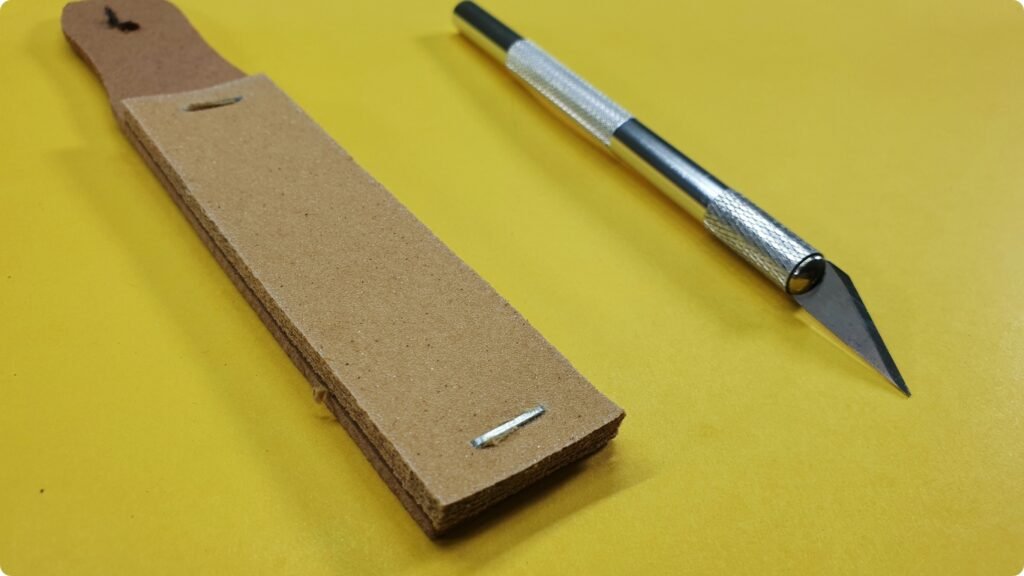
- Sharpener: Charcoal pencils require regular sharpening, but not every sharpener works well. Use a knife or a sandpaper block, as traditional sharpener can break the charcoal core easily.
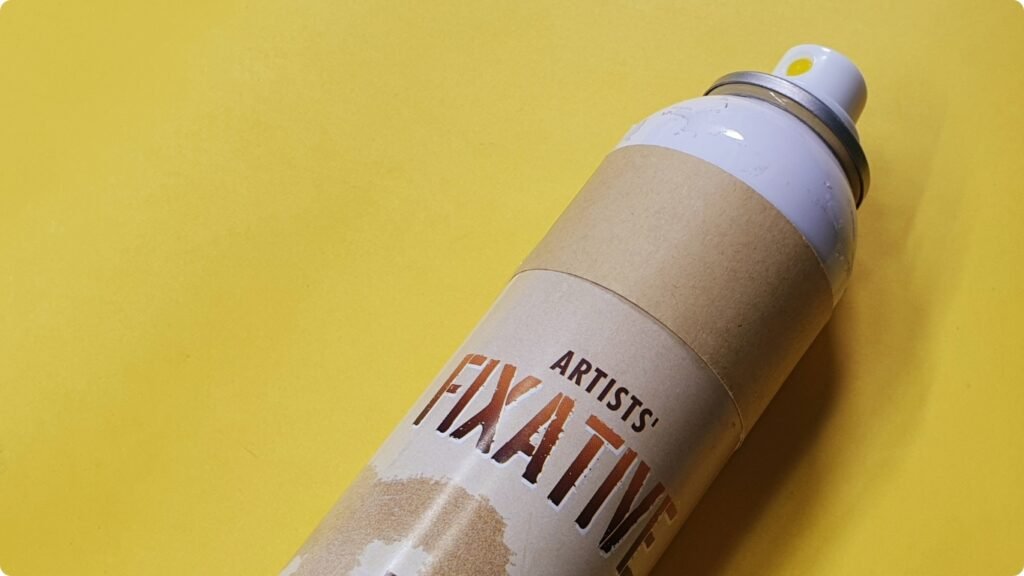
- Fixative Spray: A light spray of fixative can prevent smudging and preserve your drawing.
Basics of Using Charcoal Pencils
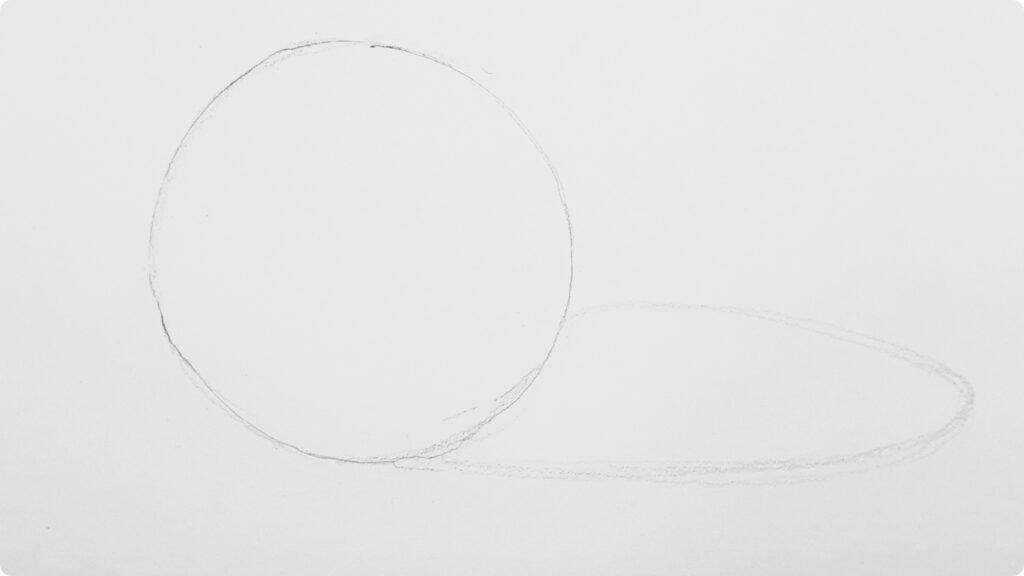
- Initial sketch:
- Start with a loose contour line sketch using a charcoal pencil.
- Note areas of high contrast.
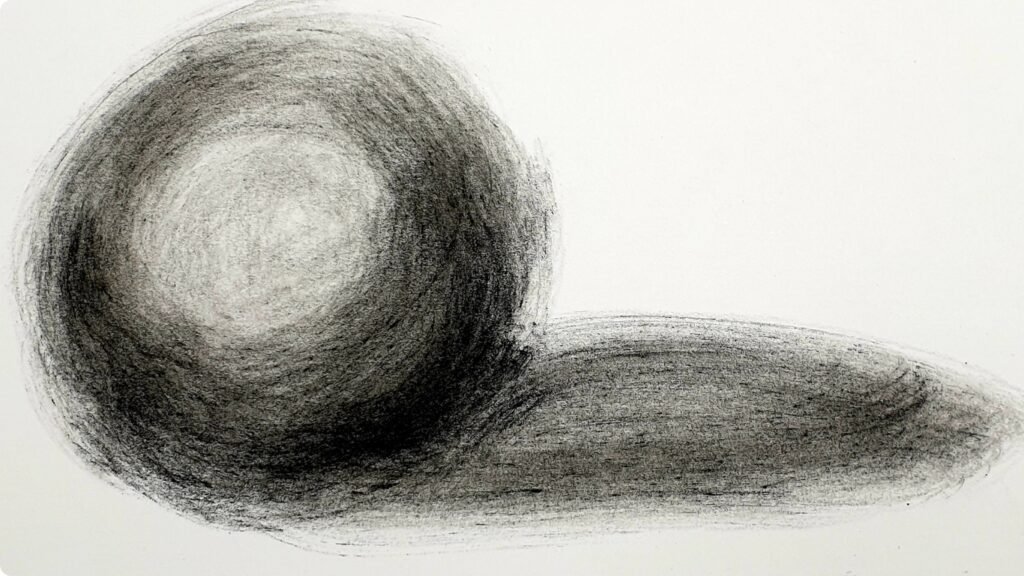
- Layering with Powdered Charcoal:
- Spread Powdered charcoal over the drawing.
- Blend it into the surface with a paper towel.
- After blending if needed erase unwanted areas.

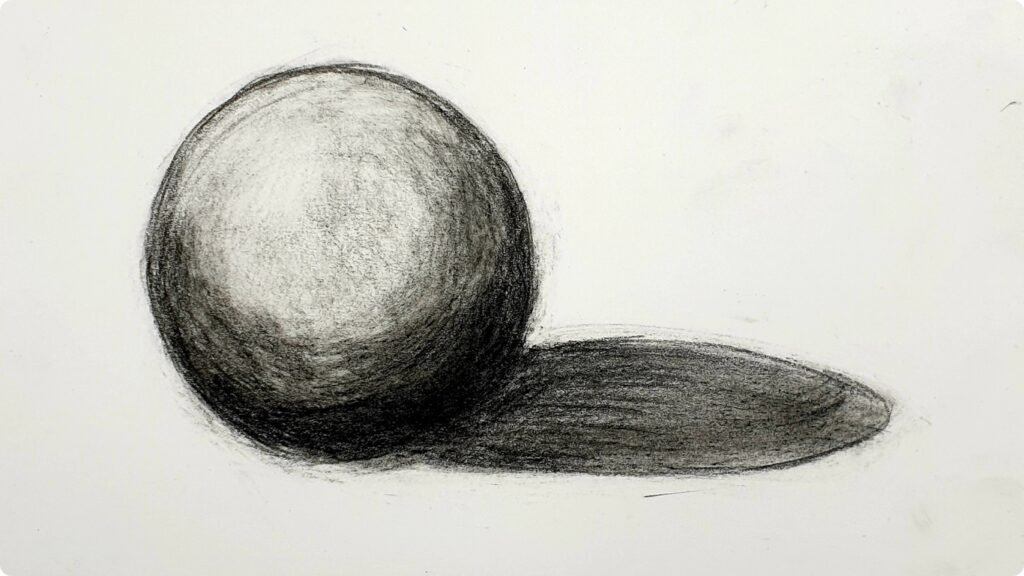
- Enhancing Dark Areas:
- Use a charcoal pencil to darken areas as needed.
- Highlighted areas can be erased with a kneaded eraser.
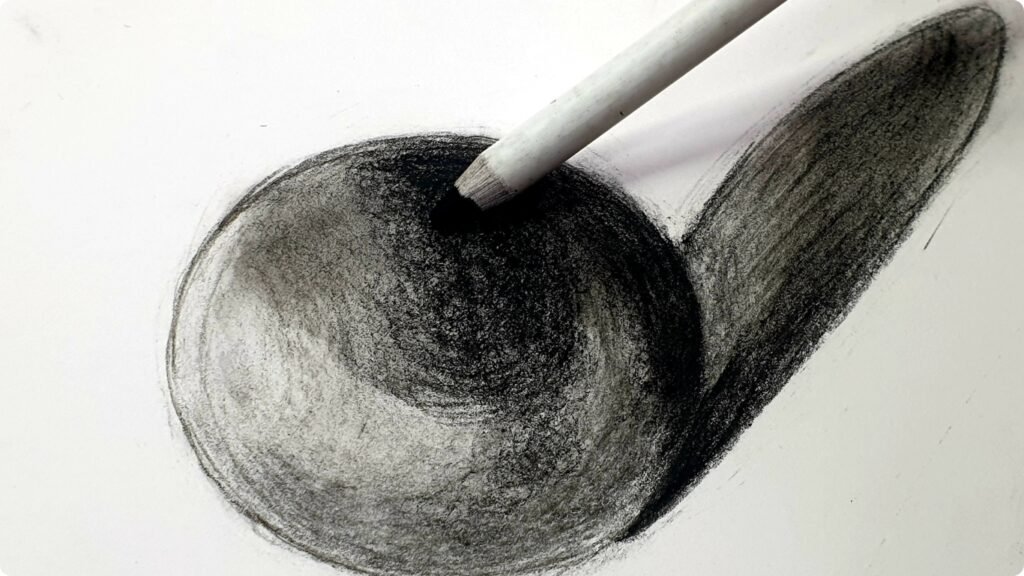
- Creating Highlights:
- Draw precise highlights using a white charcoal pencil.
- Gradations in value can be achieved by blending the white and black charcoal.

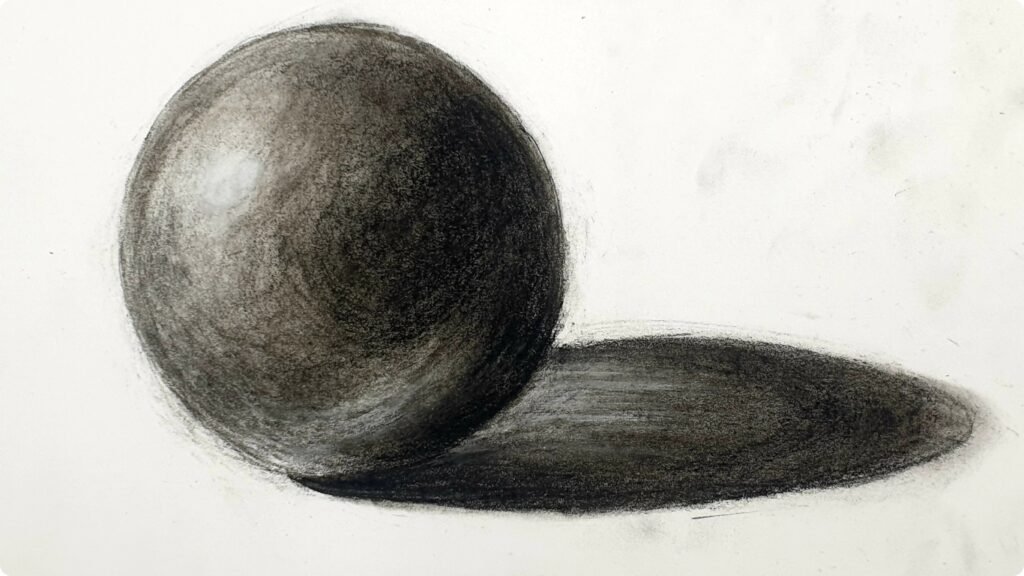
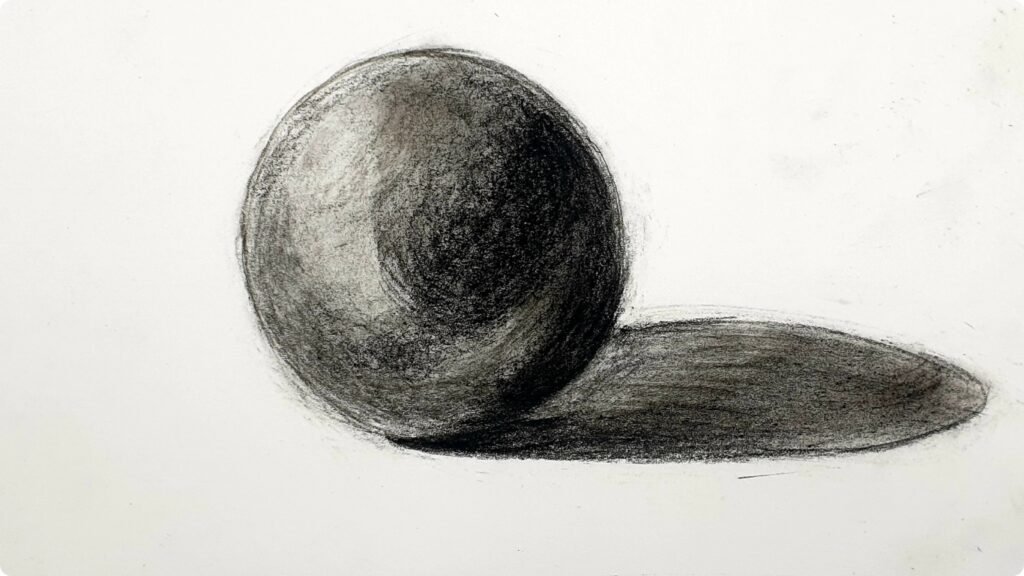
- Texturing and shading:
- Vary your pencil strokes to create texture.
- Darken shadows with a softer charcoal pencil.
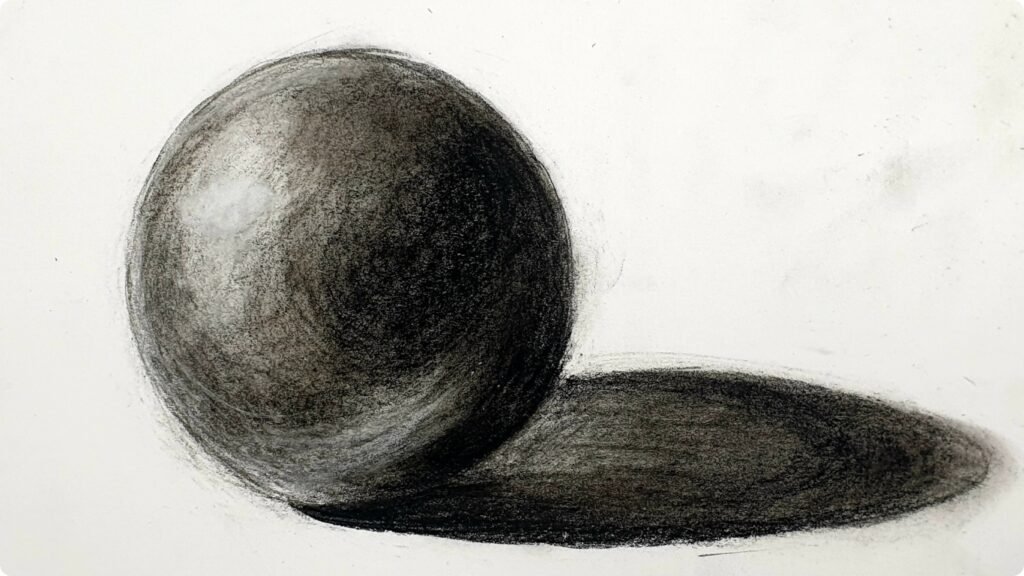
- Final touch:
- Use a kneaded eraser to texture the background.
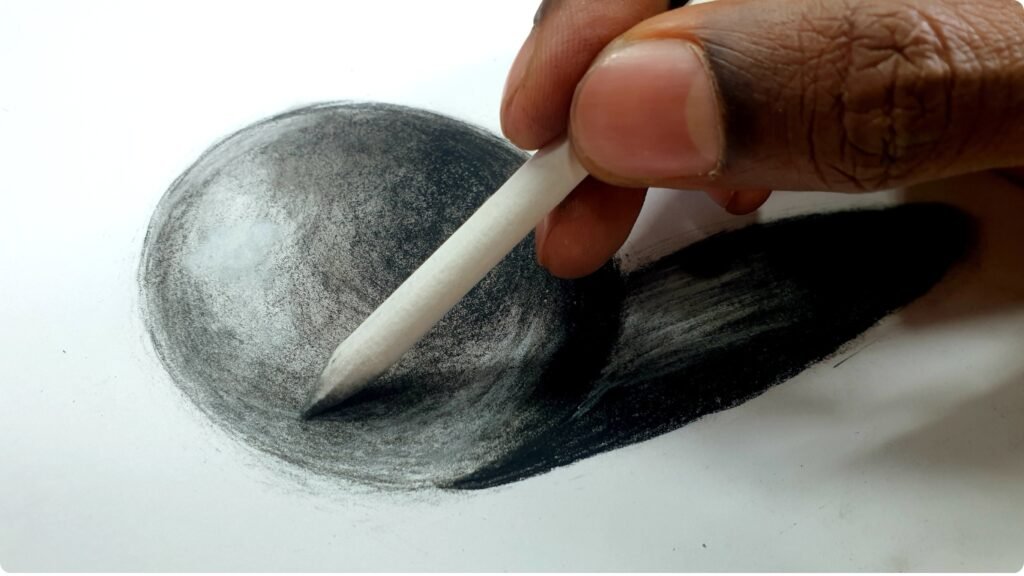
- Pull out cast shadows with a blending stump.
- Apply a fixative to prevent smudging.

Tips for working with Charcoal Pencils
Experiment with holding Techniques
- For Sharp edges: Hold the pencil like a traditional pencil for defined lines.
- For Broad Strokes: Lay the pencil on its side to fill larger areas quickly.
- Experiment with pressure: Varying the pressure you apply will result in different line weights and values, from delicate greys to rich blacks.
- Leverage Your Shoulder: Use your shoulder and elbow for broader movements, keeping your wrist steady to avoid smudging.
Use Kneaded Erasers for Highlights
- Kneaded erasers can be moulded into any shapes you like, which can help in highlighting smaller areas.
- Tip: Surround lighter areas with darker backgrounds for emphasis.
Shade for Realism
- Use various shading technique like hatching, contour shading, and cross-hatching.
- Vary your pressure to create depth and texture.
- Use various shading technique like hatching, contour shading, and cross-hatching.
- Vary your pressure to create depth and texture.
- Test your strokes and blending on a separate piece of paper before applying them to your drawing. This will help you visualize the effect before committing.
Build Layers Gradually
- Start Light and gradually build up darker tones to prevent overly dark or muddy areas. This approach allows you to correct mistakes more easily and creates more natural shading.
Blending
Blending with Tissue:
- Wrap tissue around your finger then start blending in a circular motion, it is great for large areas of shading.
Paper Stump/Blending Stump:
- Ideal for small areas, use the pointed tip of a blending stump for sharper edges.
- Tip: Use multiple stumps, for darker, mid-tone, and lighter shades each.
(Blending with finger is not recommended as oil from your skin can leave marks, and dirty hands can create unwanted smudges on your work)
Blending Comparison
- Softer Charcoal blend more easily but may leave more residue.
- Harder charcoals provide more control for details but are less forgiving in blending.
How To Preserve Your Charcoal Drawing
After completing your artwork, it is important to preserve it. To prevent it from smudging Fixative is used.
- It permanently holds your artwork, spray lightly on your drawing after completion.
- (Be cautious not to overapply, as this can alter the paper texture.)
Conclusion
Don’t worry if it feels tricky at first; every sketch is a step forward. Keep experimenting, and most importantly, enjoy the process-you’ve got this!